In the post about the HP 3478A Multimeter Modification, I said at one point that even though there's that issue about the stuck power switch, it doesn't bother me that much.
Well, it turns out that it did bother me. In fact it was down right annoying. Most likely because of my O.C.D. was acting up, knowing that there's something not quite right about the multimeter.
So, rummaging through my collection of old miscellaneous "things" I salvaged from different other devices people usually throw away (yes good people, sometimes, being a hoarder really pays off), I happened to find a spring power switch, which, in mind mind looked like a very good replacement for the one on the HP multimeter.
So, I quickly took the top cover off my 3478A, had a quick peek at the broken power button, and indeed, looked very much like the one I recently found. So, I naturally thought "well, OK, I'll replace it now....how hard cand it be....should't take more than half an hour, right?" Famous last words.
Took me a few minutes to figure out just how to take apart the 3478A to get to the power button. First, the side plate had to be removed, exposing the cast aluminium frame.

So, ignoring the very fashionable bed covers (that's how real engineers work....on beds and chairs and garages) the frame is held in place with four screws, one in each corner. Screwed to this frame piece is an aluminium plate that holds the transformer, a voltage regulator and also the infamous power switch.
After first unscrewing the three bolts that hold the aluminium plate, I then undid the four corner screws and took off the frame piece.

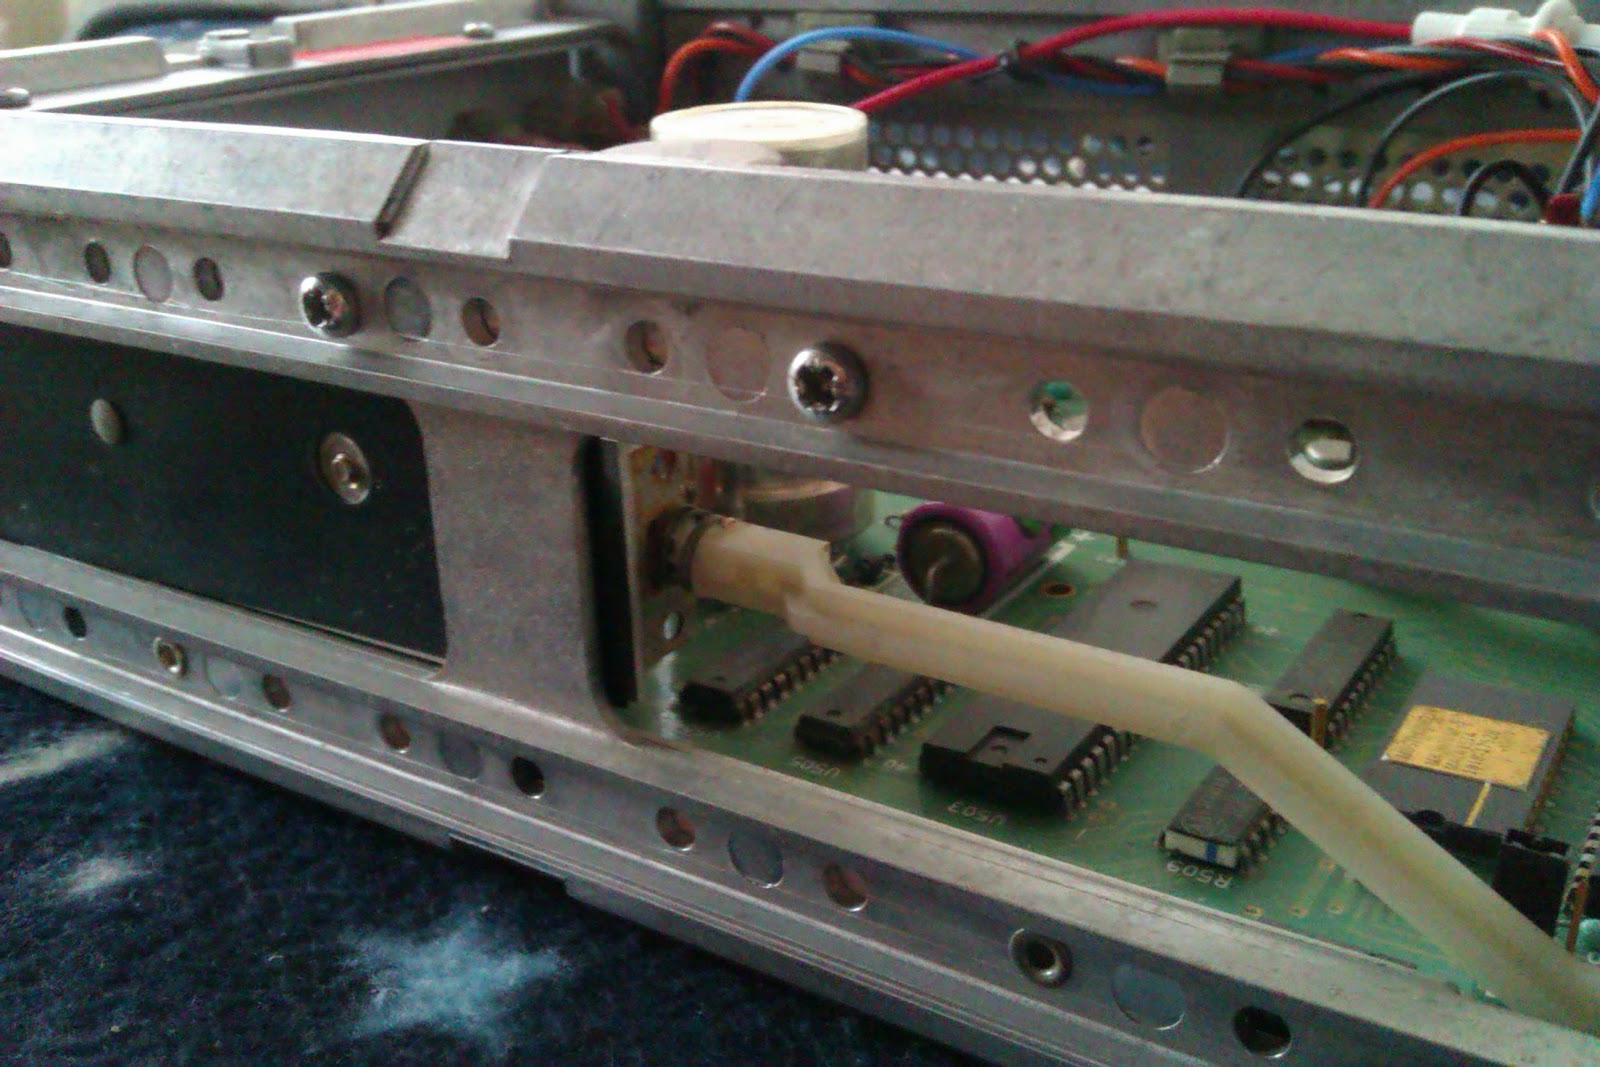

Nope, still not there just yet. The screws that hold the power button are now accessible, but to get the whole power button out, the plate also has to come off. For this, the two screws that hold the transformer to the plate need to be taken out also. Only after this, can the aluminium plate be lifted, thus giving access to the button.


If undertaking something of this sorts, take care how you handle the wires going to the regulator. Careful the solder doesn't crack or that you don't put too much stress on the wires themselves, because they might sometimes crack because of old age (although mine looked pretty good, despite the unit being built in 1991).
OK, pretty good so far. Now what? Well, take out the button, right? Out with the old, in with the new..er.
I took my trusty needle nose pliers, grabbed the shaft of the button and pulled it apart from the lever of the button than protrudes out from the front panel.
The, with a scalpel, I cut the shrink tube from around the power button and lo and behold...two capacitors and two resistors on the sides of the button...man, the guys at HP weren't stingy at all. Very nice bit of kit they built here. Annoying as hell because now I had to do even more work on it, but nice attention to detail.

This is the part where I started to take the replacement button and measuring it up along side the original and see if it really fits....Well, not really. The shaft of the replacement is about 5 millimeters longer and it also had a much wider metal plate on the front.

In the picture above you can see the solution. I took the metal bezel (front plate, call it what you will) from the original HP button and stuck it onto this. I don't know if it was divine intervention or just pure dumb luck, but somehow, I only has to file away about 1 millimeter so that the plate could snugly fit onto the new button. Also, in the picture above, you can see the original plate on the right, and the old plate already installed on the new button (new-ish, anyway).
The next steps may sound straight forward, but it took me about 30 minutes to do. After filing away the shaft so it would fit into the lever and then cutting the lever about 5 millimeters and also the shaft of the button another 5 millimeters, I took off (no, not desoldered, but "took off", as in "cut off") the capacitors and resistors from the old switch and soldered them to the replacement one.
The original HP switch was a Schadow, Type NE15, DPDT switch. The replacement was a DPST one, but that worked, since HP also used it in this configuration.
A quick mockup seemed promising as the button and the lever seemed to fit and more importantly, actually worked.
By the way, I didn't have shrink tube that large a diameter, so I put some electrical tape around the button to insulate it. May sound crude, may look even cruder, but it works and is also a very viable long term solution.

It may sound simple, all of this, but the whole taking the plate apart, figuring how to make the replacement button fit then soldering the wires and components to it, putting it back together, took a little over two hours.
So, fun as it was, this is one of those things that you'd only do once. But at least, in the end, I now have a fully functioning multimeter.


0 comments:
Post a Comment